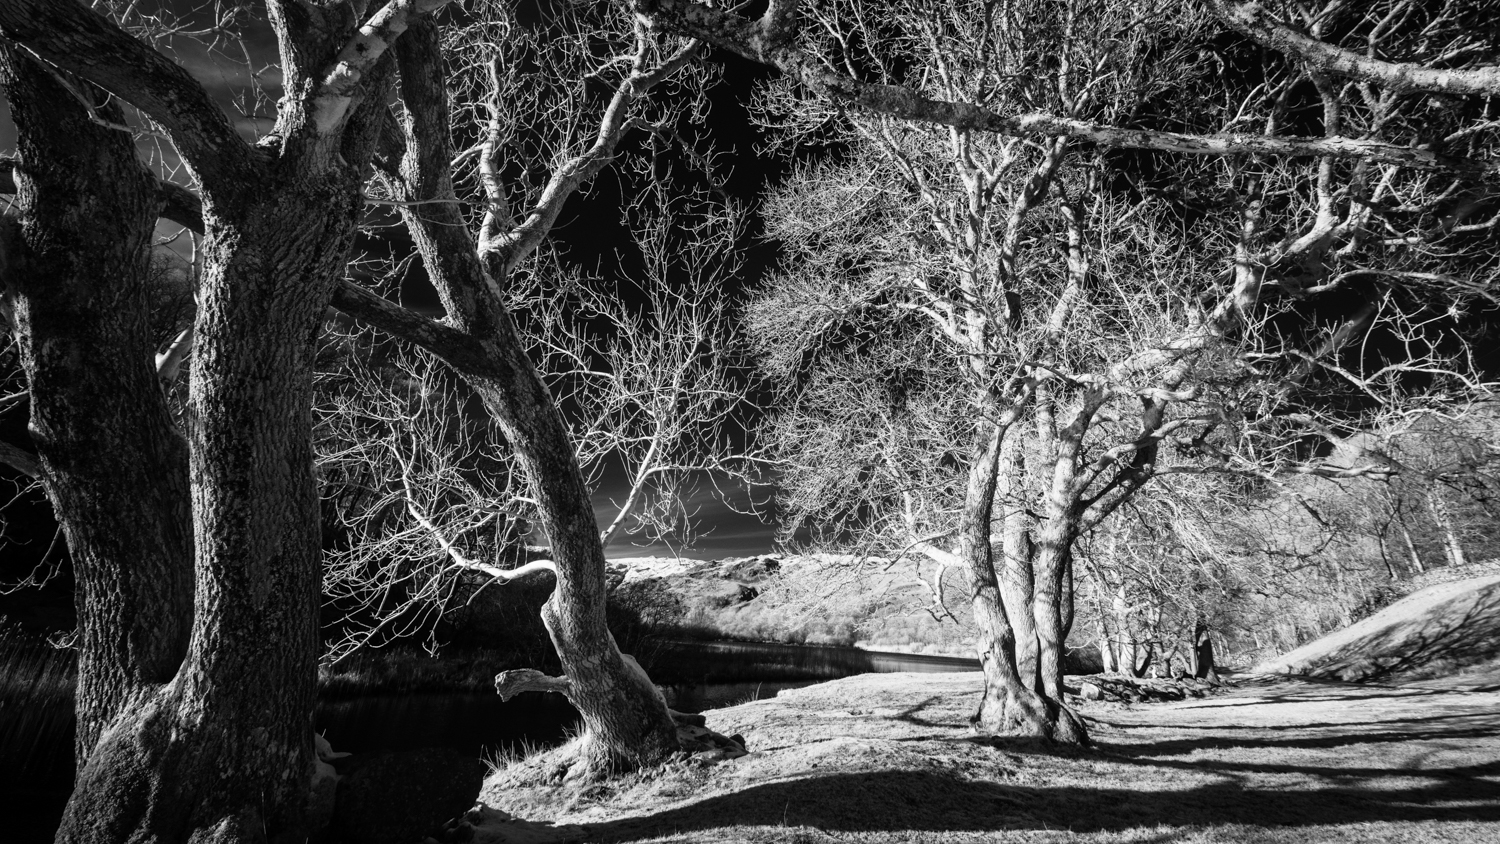
My first blog is a basic introduction to Infrared photography. I’d like to talk nuts and bolts, what I physically use when I create images in the field, how I use my gear and why. In a later blog I will look at processing techniques.
I have two Sony A7Rlll bodies, one converted to a full-spectrum camera (more about that further down) and one “normal” off the shelf. This camera isn’t the latest model available but, crucially, it’s the one that suits me and my work. Later models have a resolution which I simply never need but which will fill up my computer’s memory space and may overwhelm my processor. My advice is, don’t be seduced by resolution you’ll never need, or a camera bristling with features you’ll never use. It’s a waste of money.
Be honest about your knowledge, how you use a camera, what you’ll use it for and purchase accordingly.
850 nm
Finding your own style, your own voice within photography is essential. Through experience, your way of seeing the world begins to emerge, a style develops and you start to create a linear path through your images. You may branch off into endless genres available, but I think it’s important to follow your instincts.
Black and White photography has always been my preferred style. I love the texture, the drama of monochrome imaging. In my black and white photography, I was drawn to stark contrasts, the more black and the more white, the better. This led me to infrared.
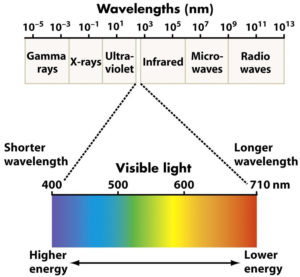
Infrared photography encompasses many types of imagery, through the scientific, astrological, false colour and B/W
Some very basic understanding.
Inside your camera, in front of the sensor – the plate that actually catches and records the light and converts it into an image – sits a filter. In a ‘normal’ camera, this filter cuts out Ultraviolet light and Infrared light, so your camera “sees” as your eye does.
My converted Sony A7Rlll has that filter removed and in its place another filter is fitted.
My choice is a Quartz filter that allows infrared light through and records those wave-lengths as well as the visible light. This makes it a “Full Spectrum” camera.
To further explore the Infrared spectrum, I use a clip-in filter system that gradually restricts the wavelength of light that the sensor can register. These filters produce manipulated images of different colour spectrums.
Some result in blue skies turning black and green foliage white. Others show a broad range of colour, selective colour, false colour. There are plenty of possibilities.
590 nm filter
As well as producing full-spectrum images, these filters enable my converted camera to use:
590nm: this is the lower end of the infrared spectrum and this creates a glow in the image. The filter allows orange and red visible light as well as infrared light onto the sensor.
720nm: this reduces the amount of visible light and increases the amount of infrared light.
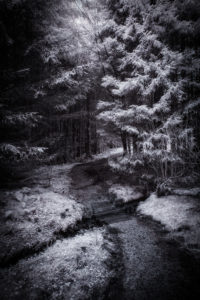
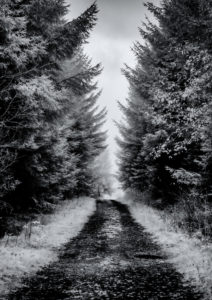
850nm: this produces a very stark image (almost entirely infrared light). The original file is very red in colour but produces very strong black and white images once post-processing is done.
615nm Cut filter: this is to cut out many of the further reaches of the Infrared and essentially enables the full spectrum camera to behave not unlike a non-converted camera.
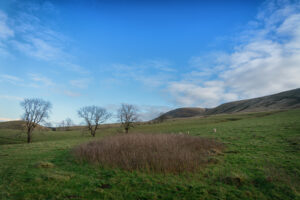
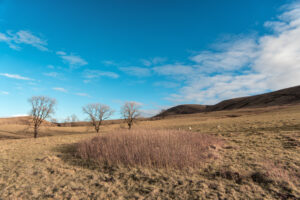
Unconverted camera Full spectrum (converted camera without filter)
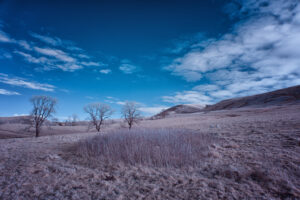
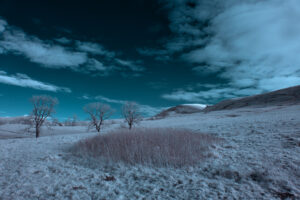
590 nm 720 nm
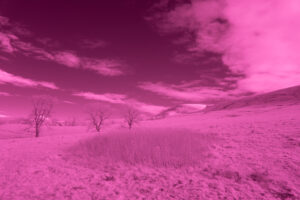
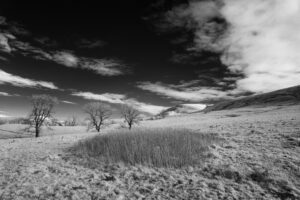
850 nm 850 nm (converted to B/W)
I chose these simple images above to show off the differences between the different filters.
There are many different ways to treat these images in post-production. I will safe that for another blog.
STC OPTICS clip in filter series.
It is important to note that for these filters to work, you must have a camera body converted to Full Spectrum.
The different filters literally clip into the camera body behind the lens, so it is not necessary to have different filters for all the different lenses and diameters.
STC Filter clipped into my Sony A7Rlll
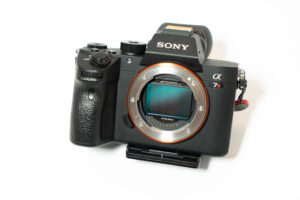
It is important to be aware of dust and smudges when changing filters. A good camera cleaning kit is essential. The very idea of placing filters on my sensor was a little daunting to start with, but I soon got confidence. I have often changed out filters in the field but am aware of conditions and weather and if I don’t feel I can do so safely I stick with the filter already fitted. If you are a user with large hands, you may find the filters small and more fiddly than I did. They are, however, very sturdy due to the metal frames and they clip in with a satisfying fastness. After a month of use I’ve not had a single one seated incorrectly.
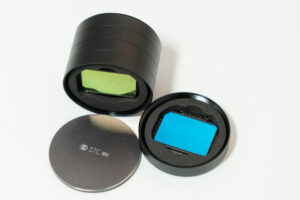
The set I have been supplied with came with an excellent carry system consisting of small cut foam pieces inside a metal disk. These can be screwed together into layers so you can carry all of the filters together in a durable handy package. I can’t stress how important a good, practical storage and protection system is for expensive accessories and this is one of the best I’ve ever come across.
I can thoroughly recommend this system.
If you’re interested in learning more about STC Filters or to purchase, please visit the link below:
https://stcoptics.com/en/clip_filter/
720 nm 850 nm
